
I'd like to show you the final solution and then I'll explain how I arrived here. This is the rubber mold and the 4-piece mother mold made of a hard plaster called Hydrocal. Even better would have been Ultracal, but I didn't have any on hand.
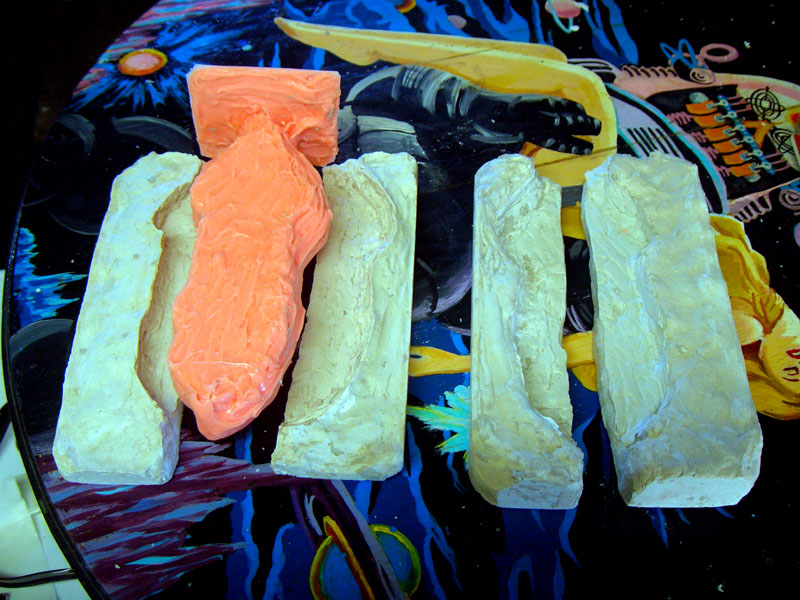
Why four pieces? My rubber mold was not perfectly smooth....and plaster is very rigid. I realized that in any configuration using only 2 pieces, I was going to have the rubber piece locked in the plaster...the only way around it, was to cast 4 pieces that would come off easily. How did I do it? I placed the rubber mold in a box I made from leftover pvc...and used clay to build up a base to the 1/2 way point around the rubber. I also placed clay on the midway point on top...creating the first section. I poured in plaster that I mixed, then waited for it to cure. Once it had- I could pull away the clay wall on top...and coat the edge of plaster with wax (so the other plaster wouldn't become glued to it). I then poured the second side....I repeated this procedure on bottom by turning over the mold and removing the floor of the box and the clay that had been supporting the rubber.
Now I can close up all four sides of the mold and hold it together with rubber bands. This allows me to pour in the resin at an angle (to allow air to escape as I'm pouring so I don't get bubbles in the cast). Once filled, it sits solidly on it's base and I can let it cure. About 20 min. does it.

So the real moment of truth is finally pouring in the resin and waiting to see what I get....
The good news...after some rough attempts at first, I have success!!

No comments:
Post a Comment